What is Memcached?
Free & open source, high-performance, distributed memory object caching system, generic in nature, but intended for use in speeding up dynamic web applications by alleviating database load.
Memcached is an in-memory key-value store for small chunks of arbitrary data (strings, objects) from results of database calls, API calls, or page rendering.
Memcached is simple yet powerful. Its simple design promotes quick deployment, ease of development, and solves many problems facing large data caches. Its API is available for most popular languages.
In this Howto we'll go through the process of installing Memcached on Debian 10 and it's valid for Debian 9 as well.
Installing Memcached:
First things first, let's make sure our server is up to date:
$ sudo apt update
Once we make sure all packages are up to date we'll go ahead and install Memcached by running the following command:
$ sudo apt install memcached libmemcached-tools
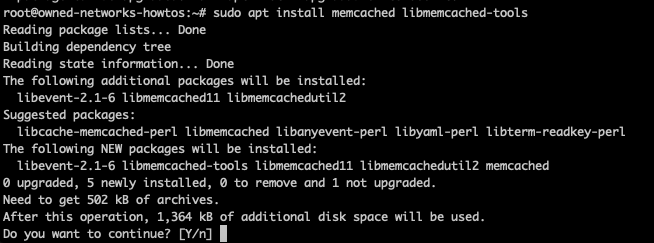
Once we confirm we want to continue by pressing Y it should install memcached and libmemcached-tools, which comes with multiple utilities to help us manage the Memcached server. The installation process should also take care of starting the Memcached service, we can run the following command to verify this:
$ sudo systemctl status memcached
If all went well it should have started the service and look similar to this:

Memcached is configured to listen on port 11211 by default, let's check to see what service is listening on this port with the following command:
$ sudo netstat -pnltu |grep 11211

If your server doesn't have netstat installed you can install it by running:
$ sudo apt install net-tools -y
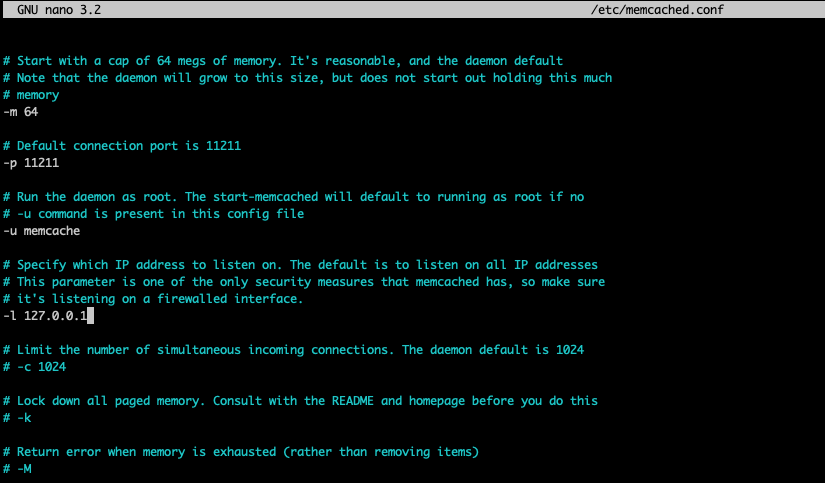
The default setting in the config file located in /etc/memcached.conf will work in most cases, so without making any changes Memcached will be listening on localhost or 127.0.0.1 (as shown on the previous image).
If you wish to allow connections from the outside you'll need to modify the memcached.conf file to listen on the server's external IP as opposed to localhost, for this we'll open /etc/memcached.conf with our preferred text editor:
$ nano /etc/memcached.conf
We'll then located the line containing -l 127.0.0.1
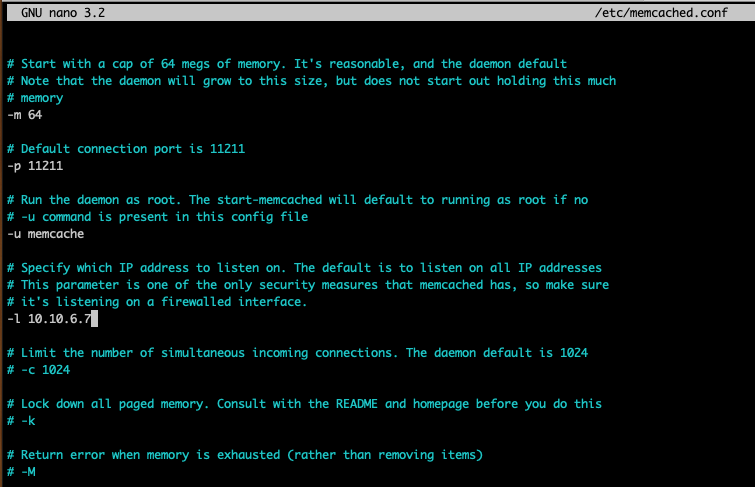
and replace 127.0.0.1 with our server's external address, which for the sake of this guide will be 10.10.6.7, so the file should end up looking like this:
After saving our changes we need to restart memcached so that it starts listening on the external IP we just set:
$ sudo systemctl restart memcached
How to enable Memcached for PHP and Python Applications:
If you wish to use Memcached as a caching database for PHP applications such as WordPress, then we'll need the php-memcached extension, so let's go over how to install it here by running the following command:
$ sudo apt install php-memcached

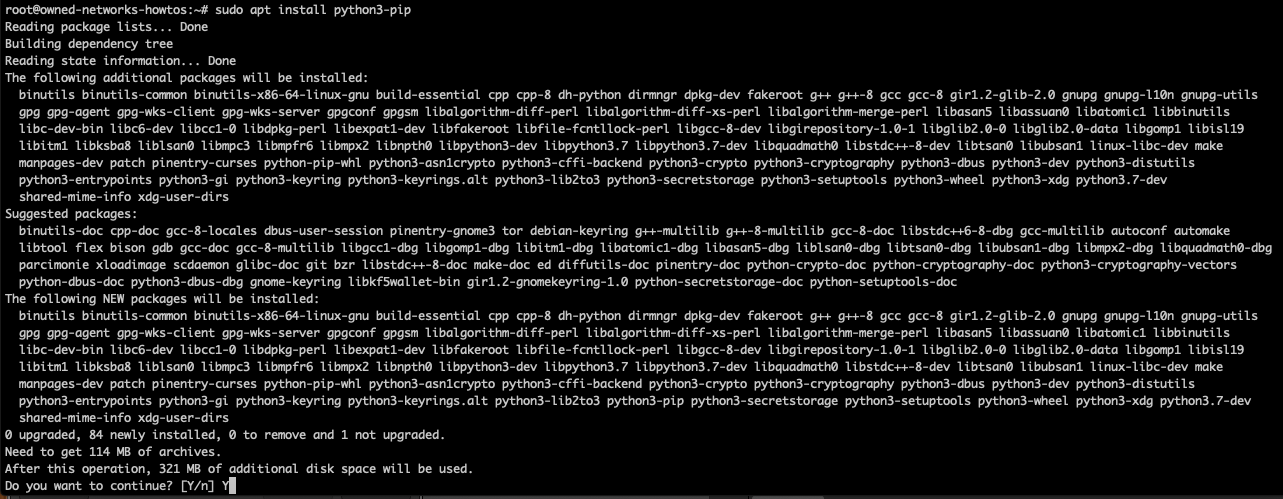
For Python applications we'll install the following libraries using pip; please note that you may need to install pip using the following command first:
$ sudo apt install python3-pip
We then install the libraries by running:
$ sudo pip3 install pymemcache
$ sudo pip3 install python-memcached

That's it, you should now have a working Memcached installation on your Debian 10 server.

