Load balancing across multiple application instances is a commonly used technique for optimizing resource utilization, maximizing throughput, reducing latency, and ensuring fault-tolerant configurations.
It is possible to use nginx as a very efficient HTTP load balancer to distribute traffic to several application servers and to improve performance, scalability and reliability of web applications with nginx.
The following load balancing mechanisms (or methods) are supported in nginx:
- round-robin — requests to the application servers are distributed in a round-robin fashion,
- least-connected — next request is assigned to the server with the least number of active connections,
- ip-hash — a hash-function is used to determine what server should be selected for the next request (based on the client’s IP address).
Servers info:
Let's put all this to the test, we've setup 3 servers with the following details:
Load balancer: 10.0.0.9
Node A: 10.0.0.10
Node B: 10.0.011
Each app server or node is configured to be accessed via web with the domain myloadbalancerapp.local
Keep in mind the domain we're using is a test domain but since you're probably using a real domain you should create an A record for this domain which points to the IP of the load balancer:
@ A 10.0.0.9
Or you can just edit your hosts file if you're not ready to make dns modifications and just want to test, we do this by adding the following to /etc/hosts:
10.0.0.9 myloadbalancerapp.local
Nginx installation on load balancer server:
We first need to install nginx on the load balancer server, so let's do that.
If you're running a Debian/Ubuntu distro you should run the following (you don't need to include sudo if you're root):
$ sudo apt install nginx -y
For CentOS/RHEL you should run:
$ sudo yum install nginx -y
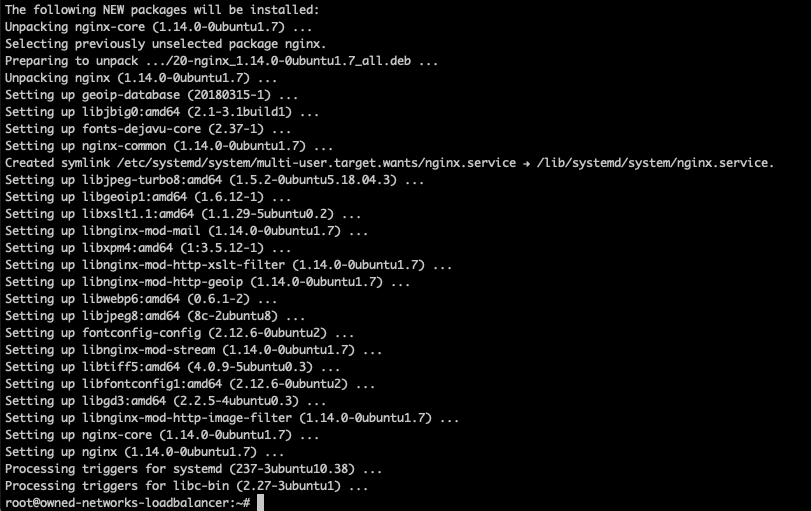
I'm running Ubuntu on this lab machine so here it is:

Let's go ahead and create a server block named /etc/nginx/conf.d/loadbalancer.conf:
$ sudo nano /etc/nginx/conf.d/loadbalancer.conf
and let's paste the following code which by default is set to round-robin as no load balancing method is defined.
upstream backend {
server 10.0.0.10;
server 10.0.0.11;
}
server {
listen 80 default_server;
listen [::]:80 default_server;
server_name myloadbalancerapp.local;
location / {
proxy_redirect off;
proxy_set_header X-Real-IP $remote_addr;
proxy_set_header X-Forwarded-For $proxy_add_x_forwarded_for;
proxy_set_header Host $http_host;
proxy_pass http://backend;
}
}
In the above config, the proxy_pass directive (which should be specified inside a location, /) is used to pass a request to the HTTP proxied servers referenced using the word backend, in the upstream directive (used to define a group of servers). Additionally, the requests will be distributed between the servers using a weighted round-robin balancing mechanism.
To employ the least connection mechanism, let's use the following configuration:
upstream backend {
least_conn;
server 10.0.0.10;
server 10.0.0.11;
}
To enable ip_hash session persistence mechanism, let's use:
upstream backend {
ip_hash;
server 10.0.0.10;
server 10.0.0.11;
}
Here we can also influence the load balancing decision using server weights. With the following configuration, if there are six requests from clients, the application server 10.0.0.10 will be assigned 4 requests and 2 will go 10.0.0.11:
upstream backend {
server 10.0.0.10 weight=4;
server 10.0.0.11;
}
Let's now save and exit nano and we'll test the configuration file to ensure there aren't any syntax errors by running:
$ sudo nginx -t
If you see an error like "nginx: configuration file /etc/nginx/nginx.conf test failed" you may need to review your settings, make sure the default site added by nginx upon installation isn't getting in the way, you may need to remove it; if everything looks good we'll see:

Now we need to restart nginx to ensure our changes take effect, for this we run:
$ sudo systemctl restart nginx
$ sudo systemctl enable nginx

Testing the load balancer from a browser:
Alright, we'll now see if all the time we've spent here has been worth it, let's go ahead and open a browser window and go to http://myloadbalancerapp.local and then let's open an additional browser windows and go to the same website, let's refresh the page a few times on both windows and we should see the page being pulled from both nodes:

This has been fun! now you know how to create a load balancer using nginx on a linux machine.
If you're looking for a place to host your next project you should check out https://owned-networks.net for affordable web hosting, cloud vps and dedicated servers.
