
A Lamp stack basically includes open source softwares that enable a server to host websites and web apps. in a nutshell the L is for Linux, A for apache, M for MySQL and P for PHP.
We’ll go ahead and install the LAMP stack on a newly configured Ubuntu 18.04 server.
What we need:
We’ll need a non-root user with sudo access (or the root account)
Let’s get down to it:
-Installing Apache
We’ll use apt to install apache by running an update first and then the actual install command:
$ sudo apt update
$ sudo apt install apache2 -y
You will be prompted to enter your password, as were using sudo here and it is a way to confirm you’re sure of what you’re about to do. You’ll see a progress bar on the bottom as apache gets installed
Let’s check on the firewall profile for apache by running sudo ufw app info "Apache Full" and then let's open ports 80 and 443 on the firewall by running sudo ufw allow in "Apache Full"
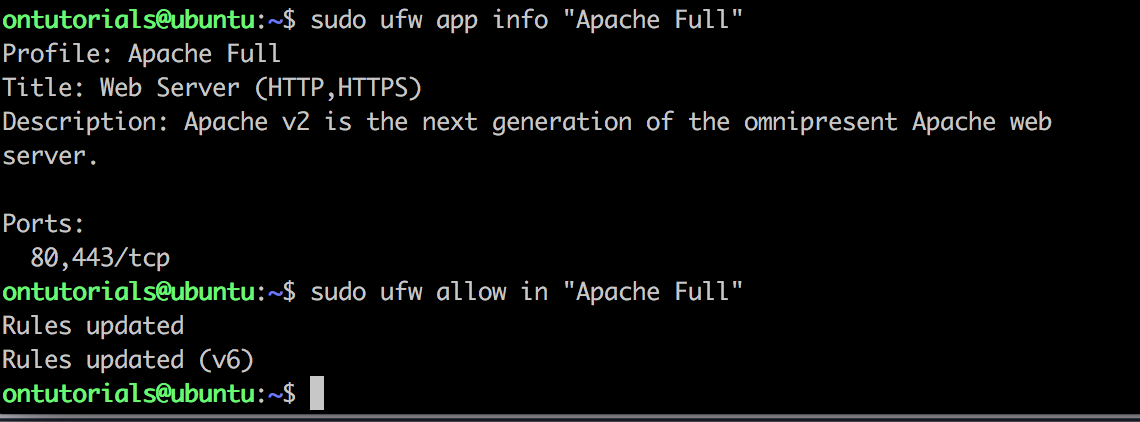
We can now check and ensure we can actually access apache from the outside by navigating to http://your-servers-ip-address, you should see the apache default page as shown below: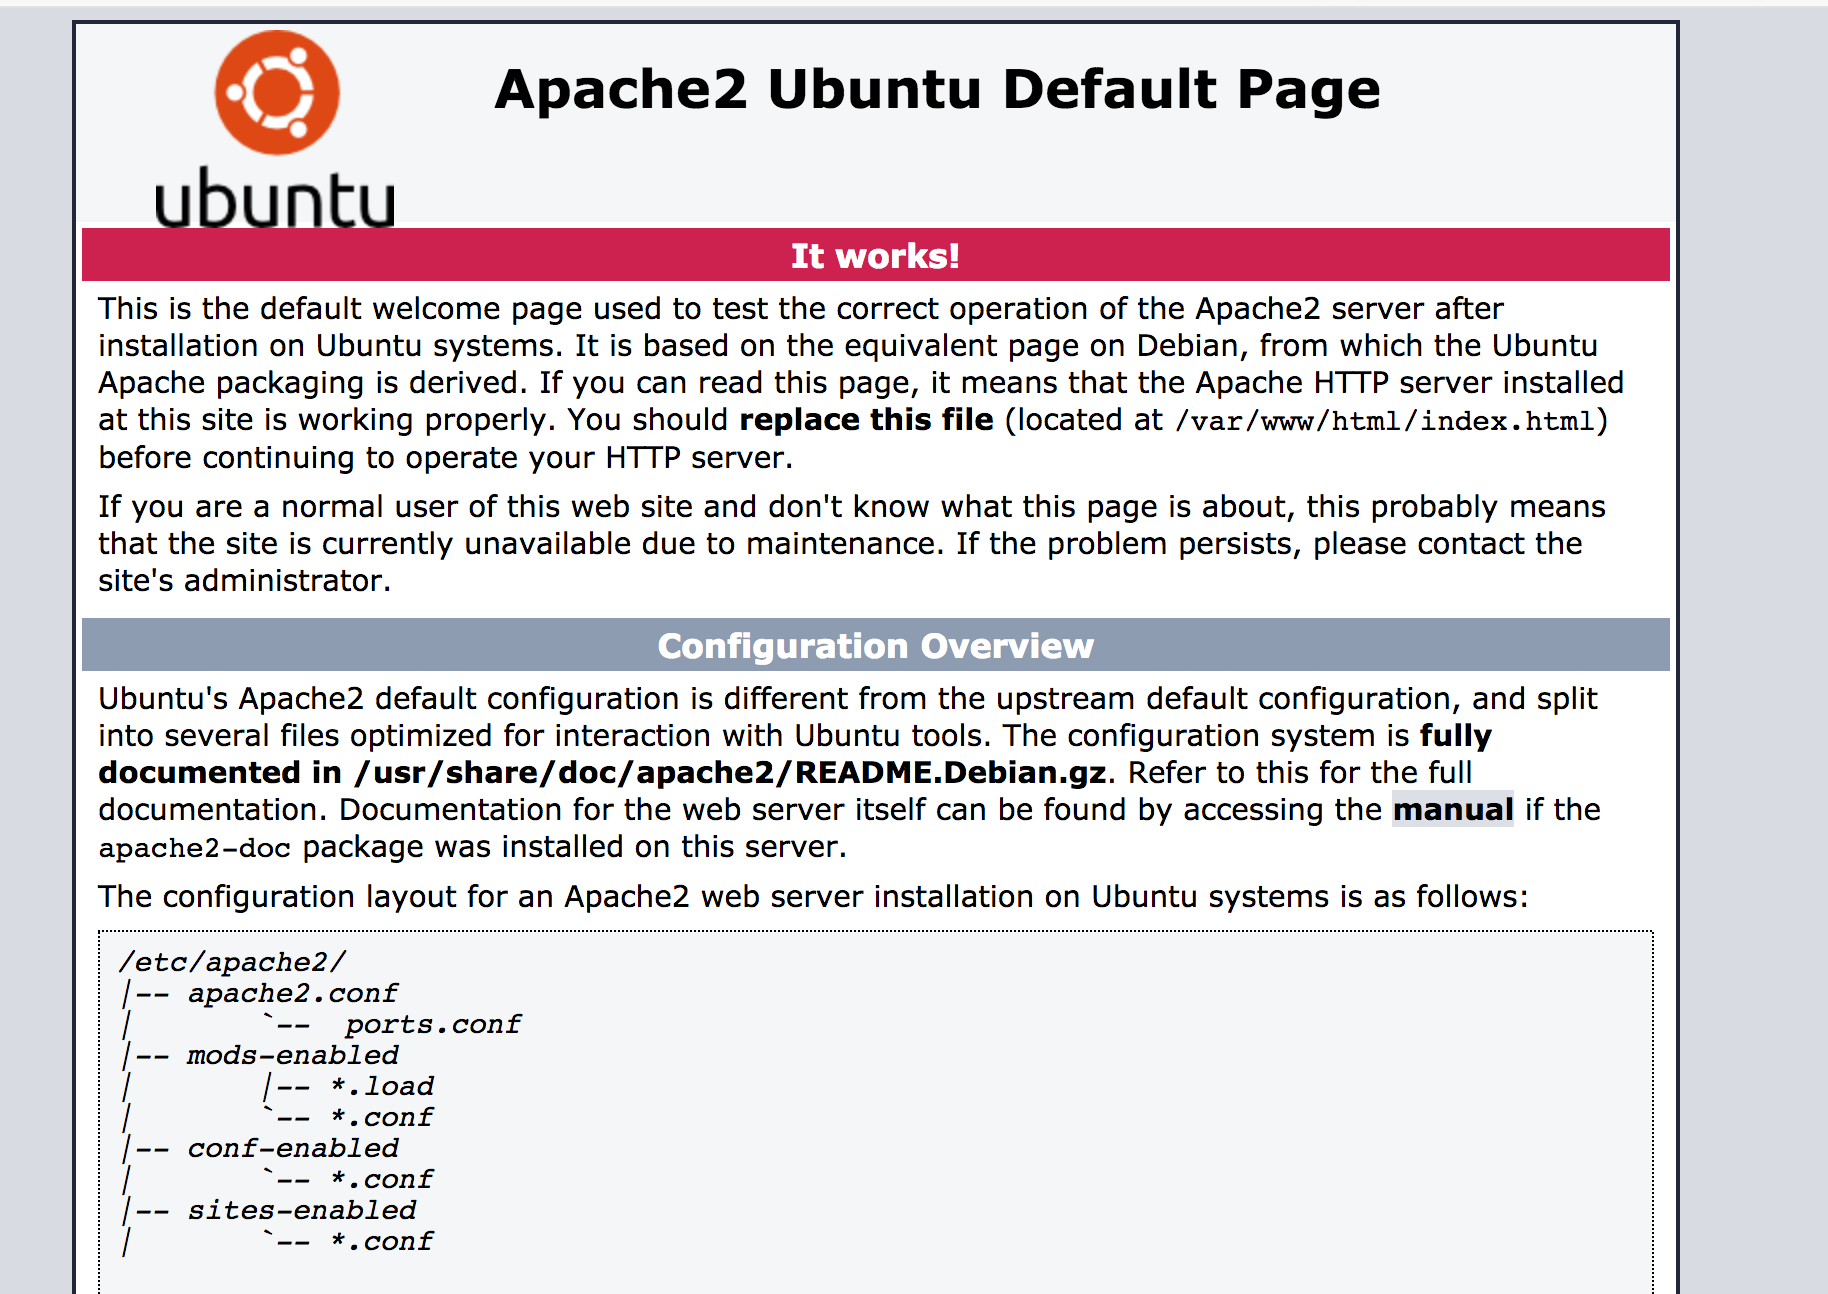
If you don't see this page then go back and ensure apache2 is actually running (try "sudo systemctl restart apache2" and recheck the firewall settings we just went through)
- Installing MySQL
We now have a working web server and will now move onto MySQL, which will allow us to manage data bases on our server, this is basically what allows us to store and access information through our website.
Let's go ahead and install it using apt:
$ sudo apt install mysql-server -y
you will see a progress bar as it installs, it should complete after a few seconds. Once installed let's go ahead and run a script that comes with MySQL which will lock down access to the database system, etc:
$ sudo mysql_secure_installation
You will be prompted to confirm whether you want to enable "validate password plugin":

The validate_password plugin serves to test passwords and improve security. The plugin exposes a set of system variables that enable you to define password policy. There are 3 levels here, which are:
-
LOWpolicy tests password length only. Passwords must be at least 8 characters long. To change this length, modifyvalidate_password_length. -
MEDIUMpolicy adds the conditions that passwords must contain at least 1 numeric character, 1 lowercase character, 1 uppercase character, and 1 special (nonalphanumeric) character. To change these values, modifyvalidate_password_number_count,validate_password_mixed_case_count, andvalidate_password_special_char_count. -
STRONGpolicy adds the condition that password substrings of length 4 or longer must not match words in the dictionary file, if one has been specified. To specify the dictionary file, modifyvalidate_password_dictionary_file.
Regarless of the level we choose we'll be prompted to set a password for the root mysql account, it will also ask to confirm whether we want to remove anonymous users, disable remote root login and remove test database access, we'll say YES to all: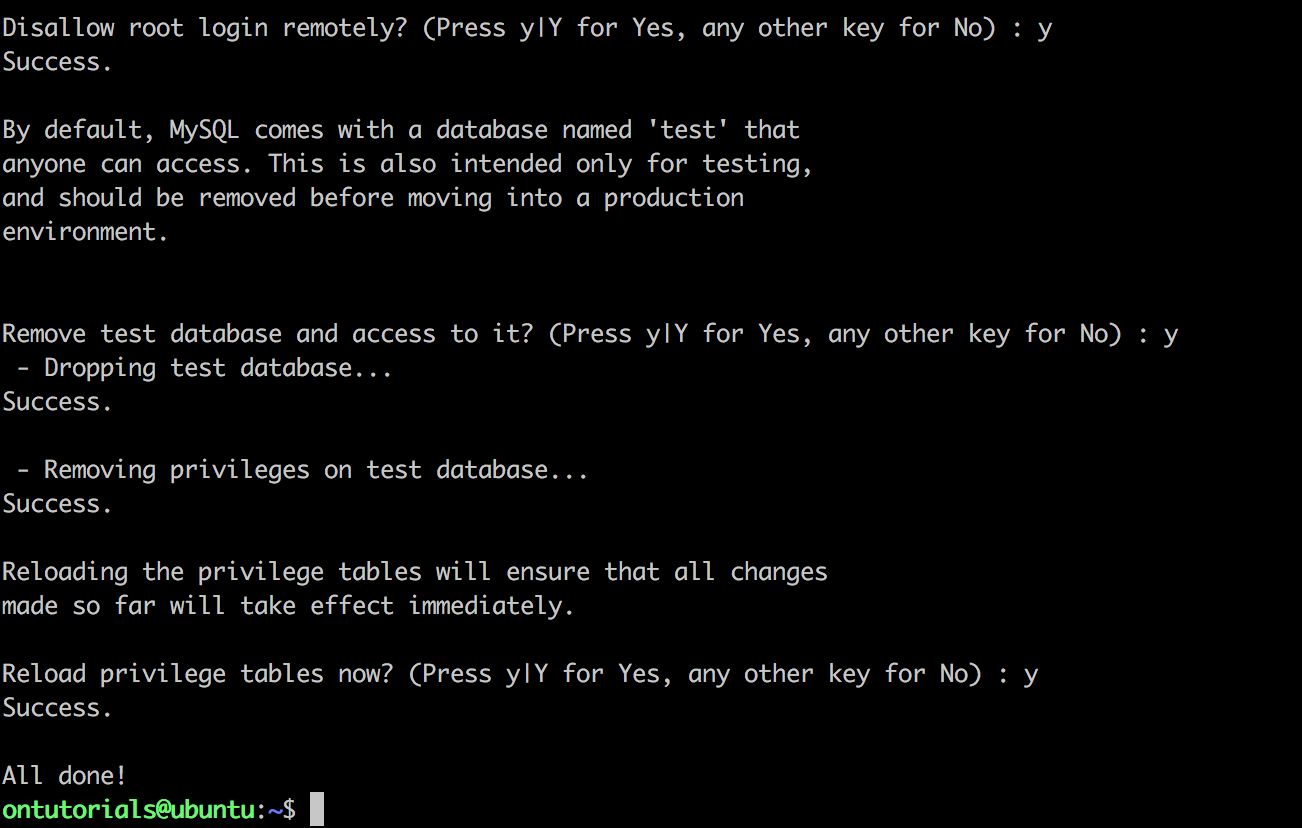
Alright, so MySQL is all set, let's move onto PHP.
- Installing PHP
PHP will allow us to display dynamic content on our website, it works together with MySQL to run scripts, etc.
We're going to use apt to install PHP:
$ sudo apt install php libapache2-mod-php php-mysql php-cli -y
You should be able to see a progress bar during the install procress. Once it's done installing we've move onto testing it; by default apache will attempt to first look for index.html files instead of index.php, so we'll adjust that on apache before testing php, we'll go ahead a modify dir.conf with a text editor by running:
$ sudo nano /etc/apache2/mods-enabled/dir.conf
It shoud currently look like this:

We'll want to move index.php before index.html so this ends up looking like this:

See how index.php is the first on the list now. To save our changes let's hit Control + X and then confirm by typing Y and then ENTER.
We'll now need to restart apache so that our last modification is applied so we run:
$ sudo systemctl restart apache2
Alright, let's go ahead and actually test PHP by using a script that provies information on our PHP installation, we have to make this script publicaly accessible so we'll place it under the default apache pubic folder /var/www/html
Let's use the following command to create the file containing the script:
$ sudo nano /var/www/html/phpinfo.php
We then paste the following:
<?php
phpinfo();
?>
Once the code is pasted we save and close (Control X, then Y, then ENTER)
Now to actually test PHP we'll navigate to the following URL (make sure to enter your server's IP address)
http://your-servers-ip-address/phpinfo.php
it should look like this: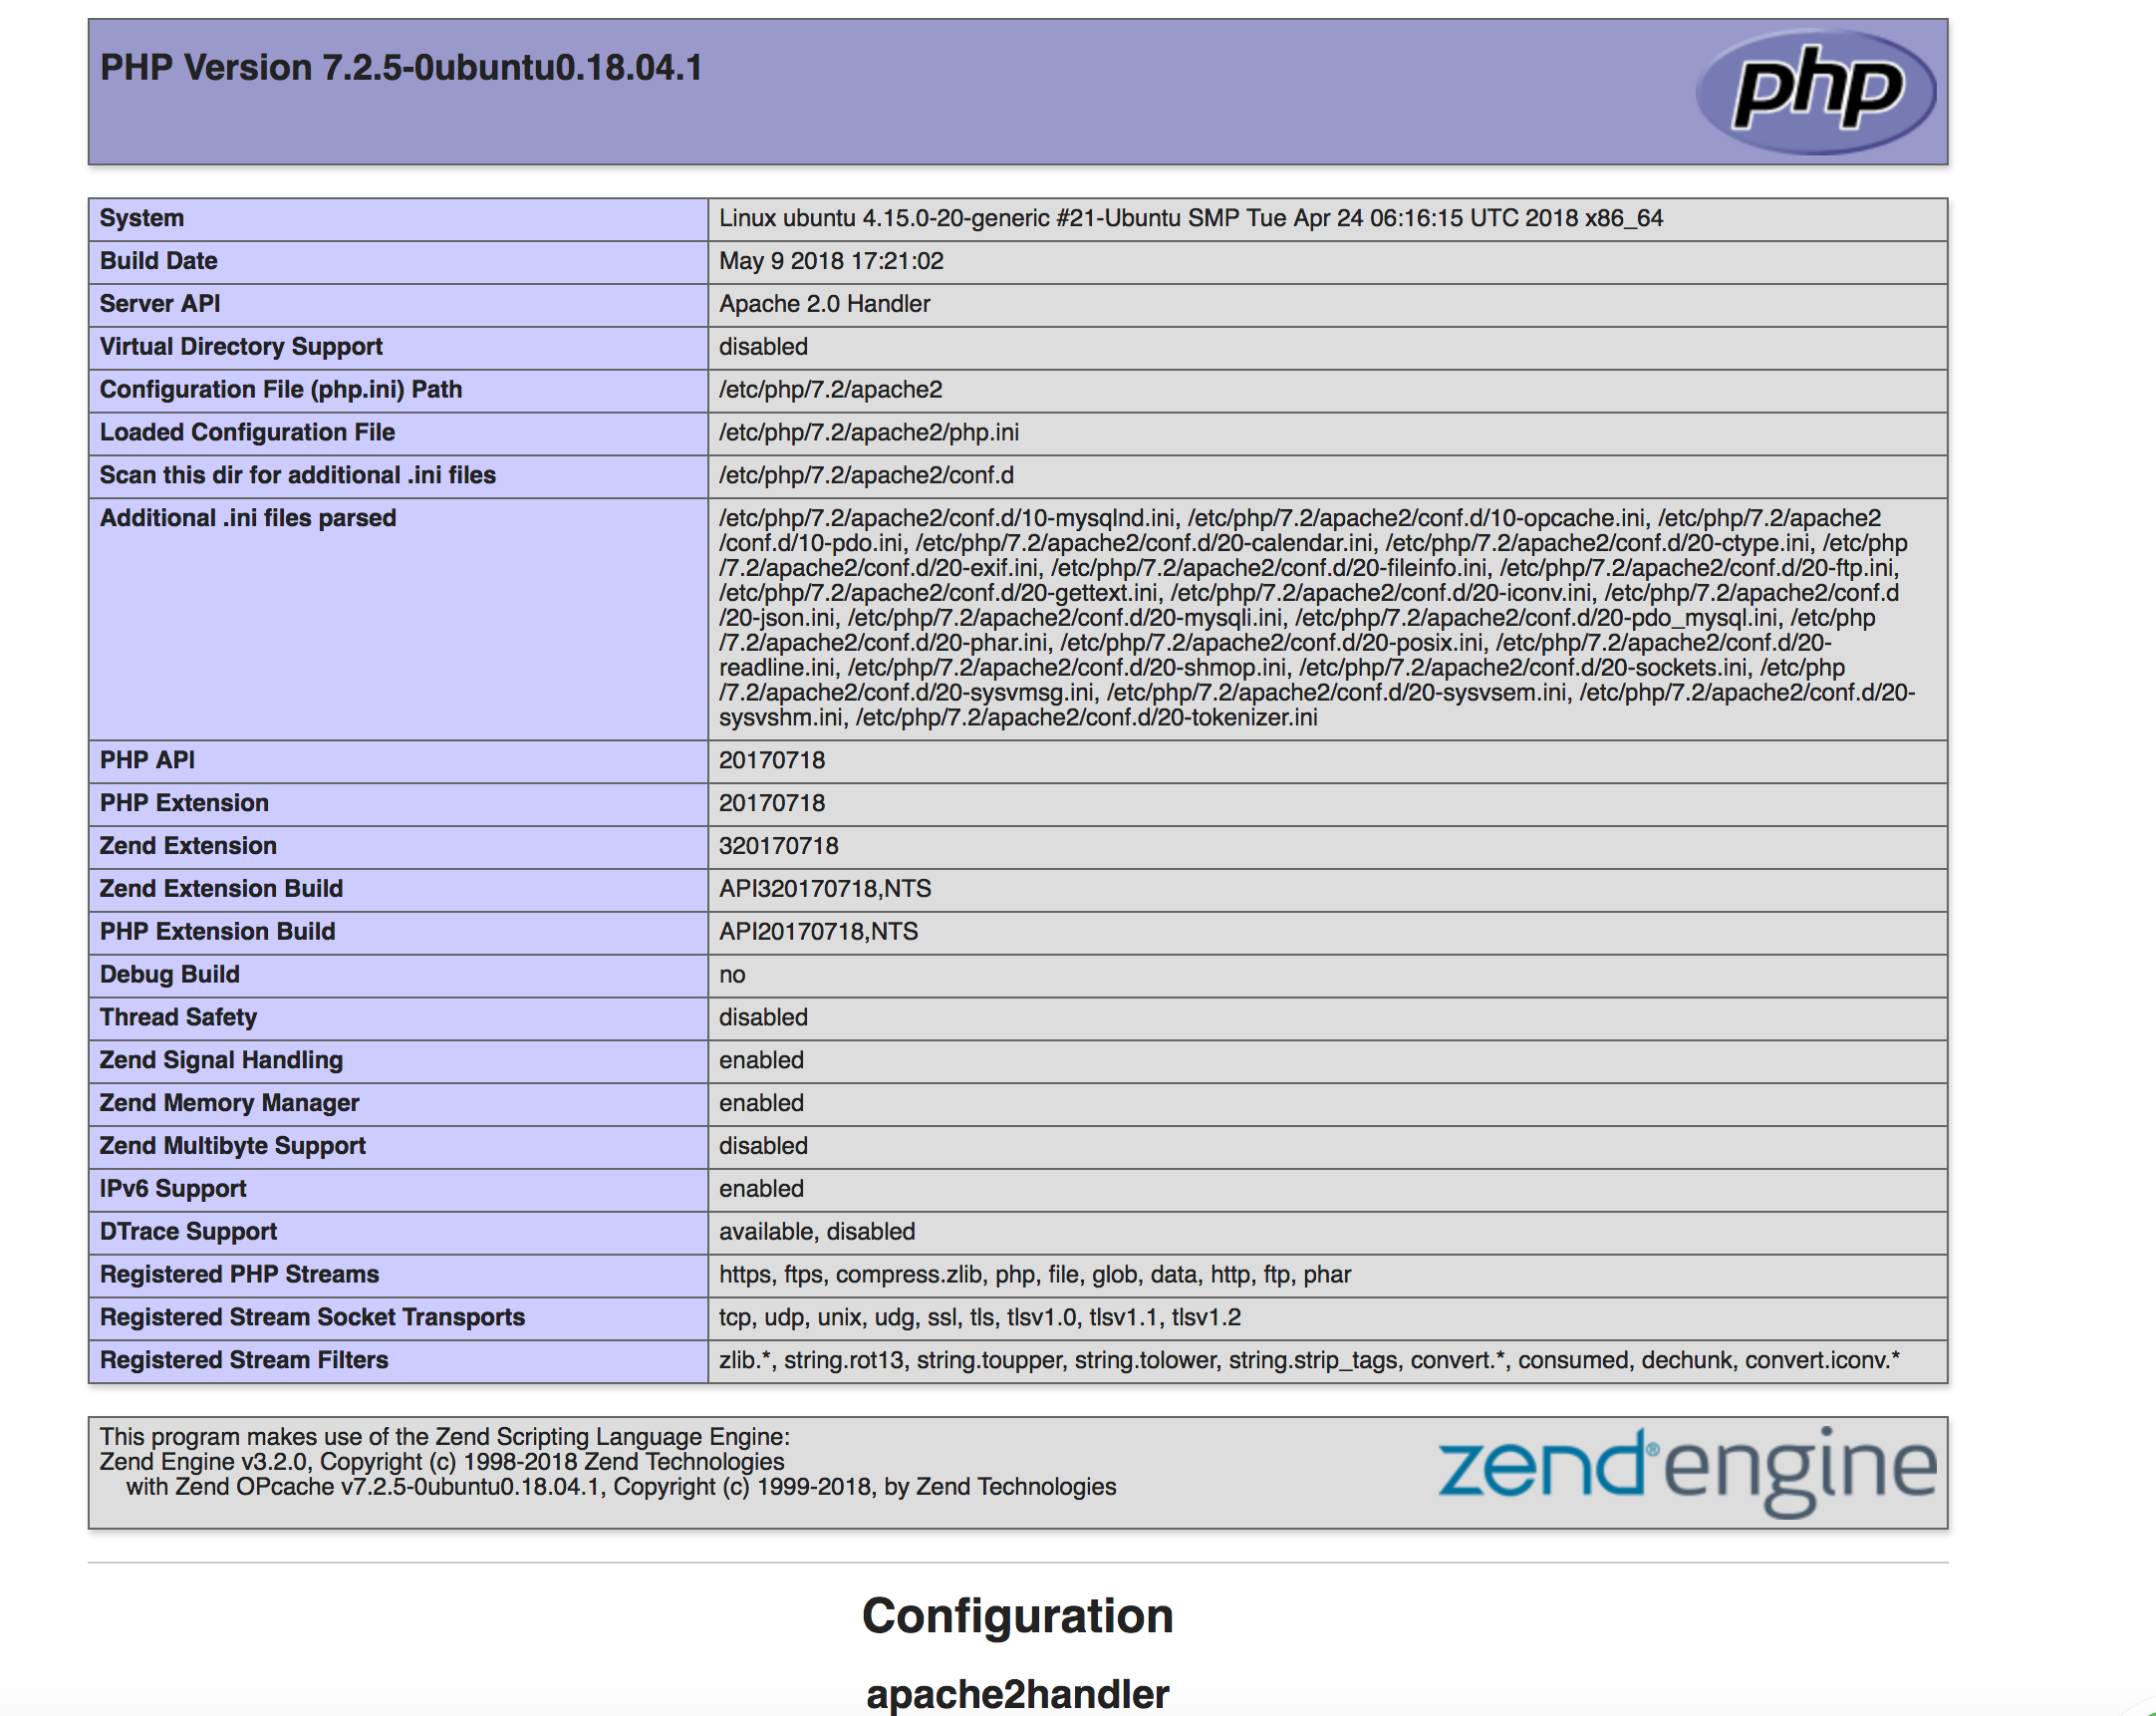
This is pretty much it, now you have a working webserver with php and mysql!!!
If you need quality and affordable VPS hosting, cPanel web hosting or dedicated servers for your projects make sure to check out https://owned-networks.net/
